December 24, 2019
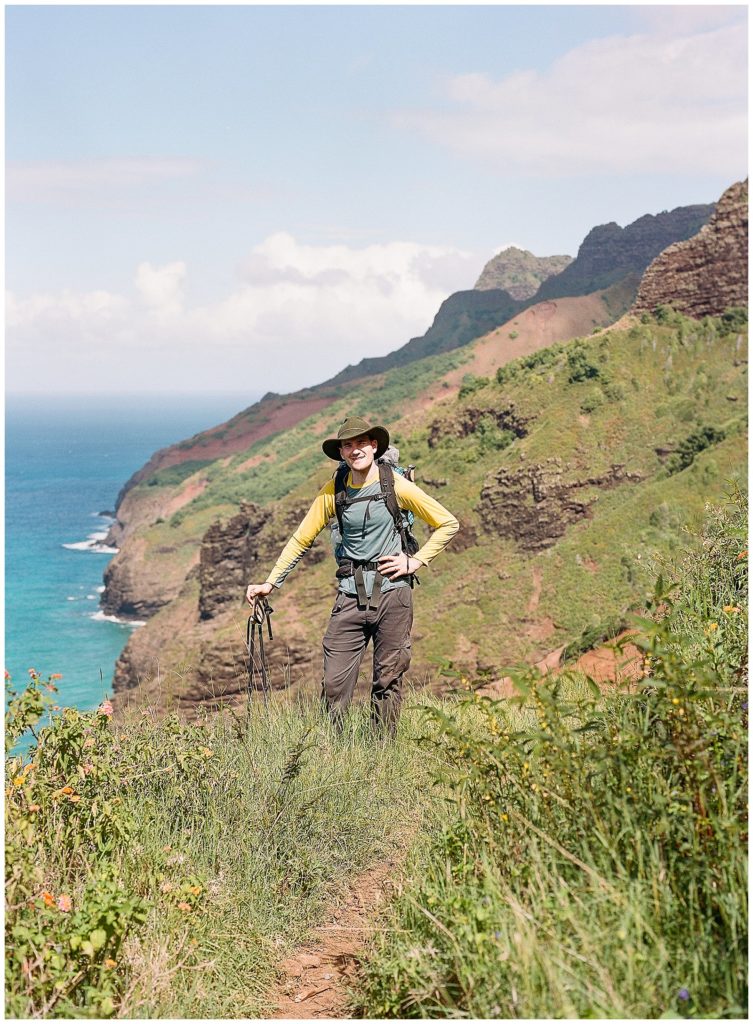
When Thomas and I were invited to attend a wedding in Hawaii this past October, we knew we wanted to make a vacation out of it. Thomas has been interested in backpacking since we moved to the west coast, and he knew he wanted to hike the Kalalau trail after one of our couples told us about it a few years ago. This was our first backpacking trip (without an organized tour) so he did a ton of research. I wanted to share some of what we learned – hoping to make someone else’s trip a little easier.
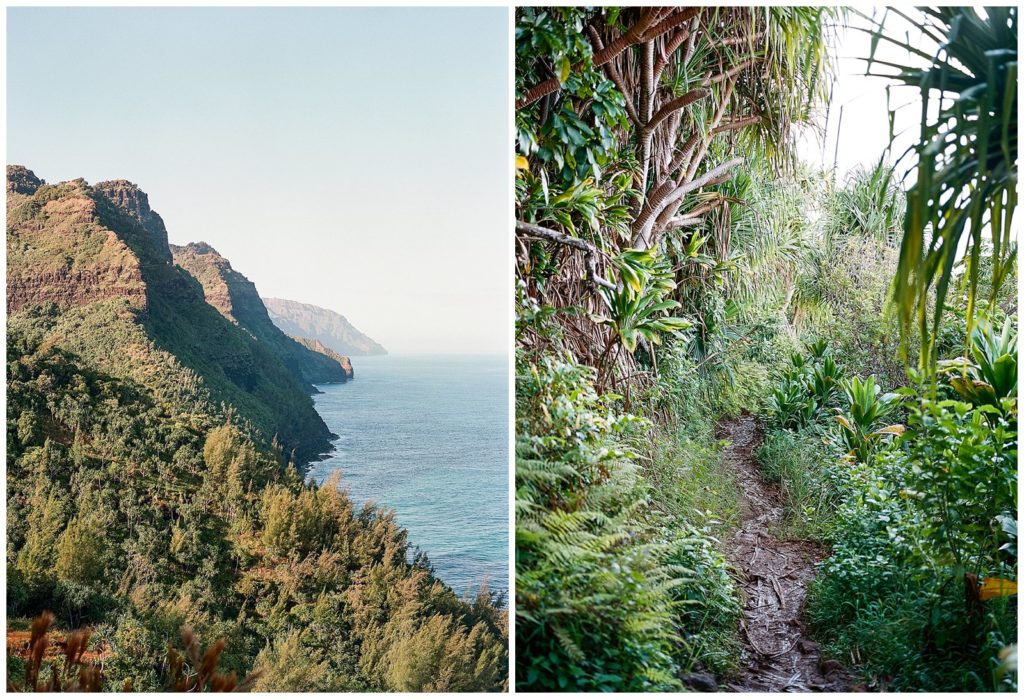
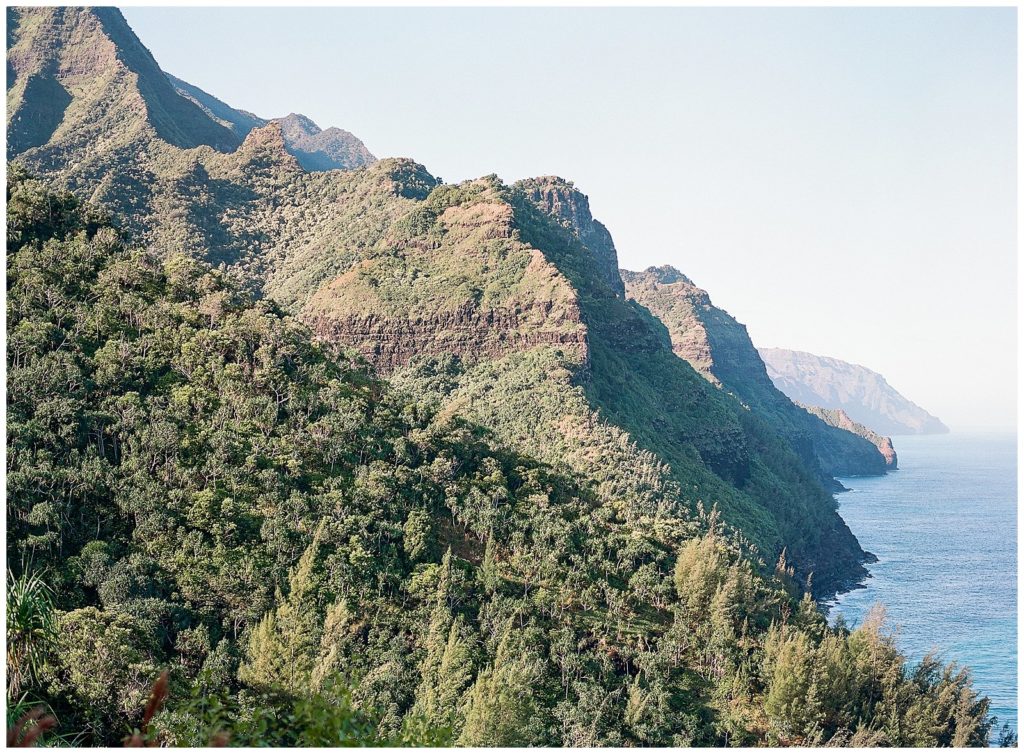
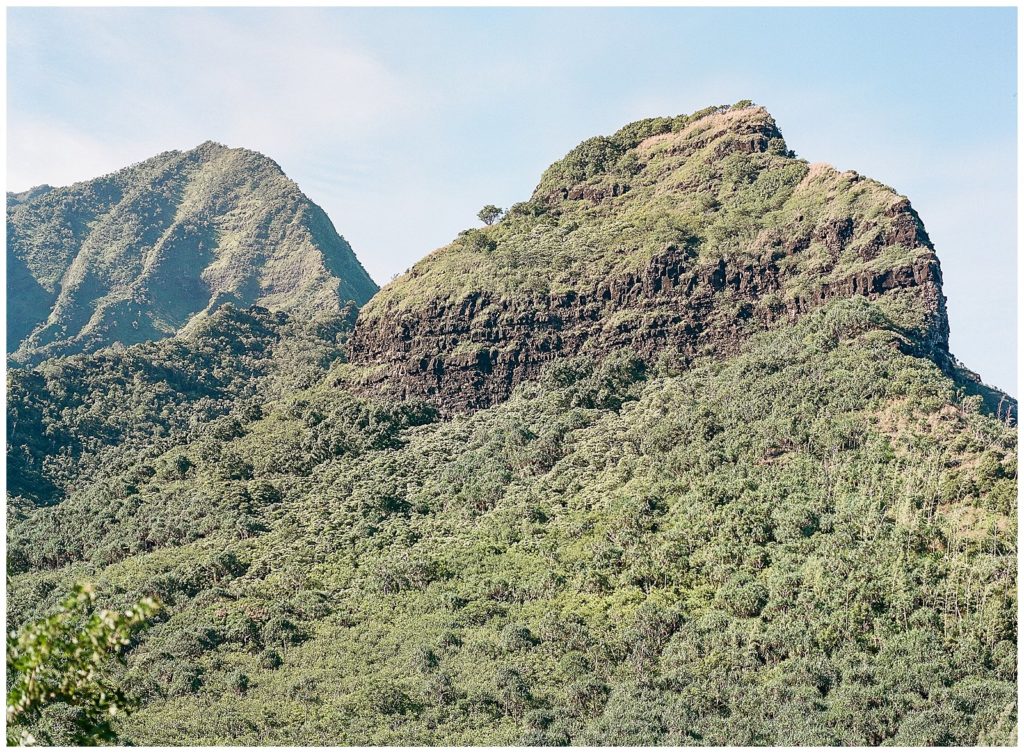
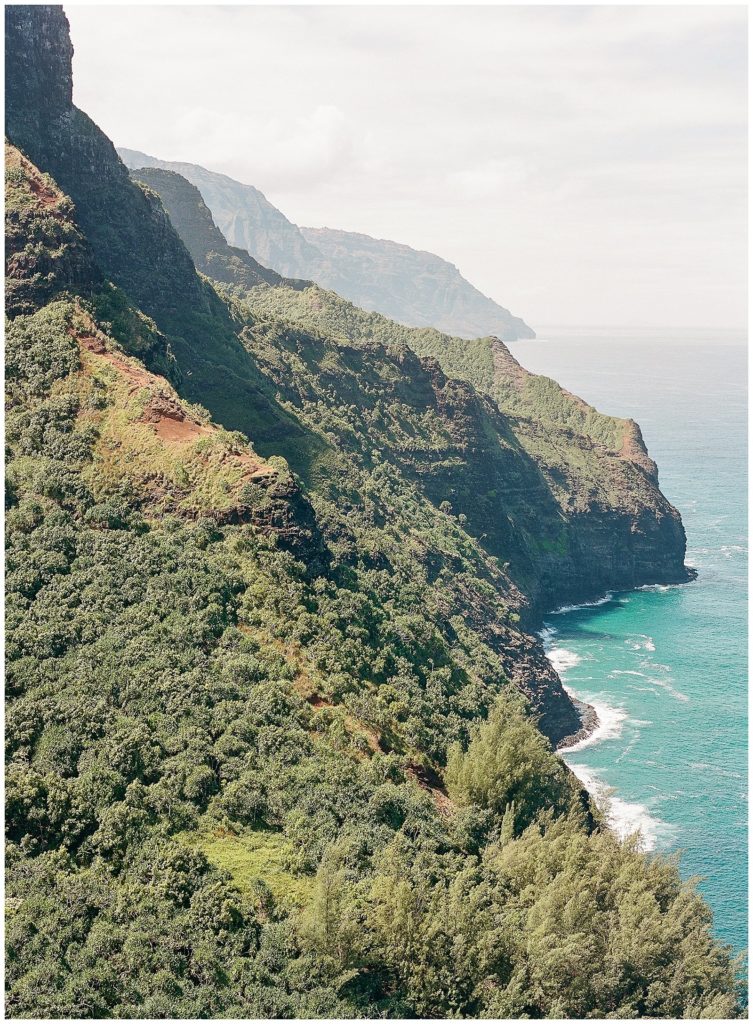
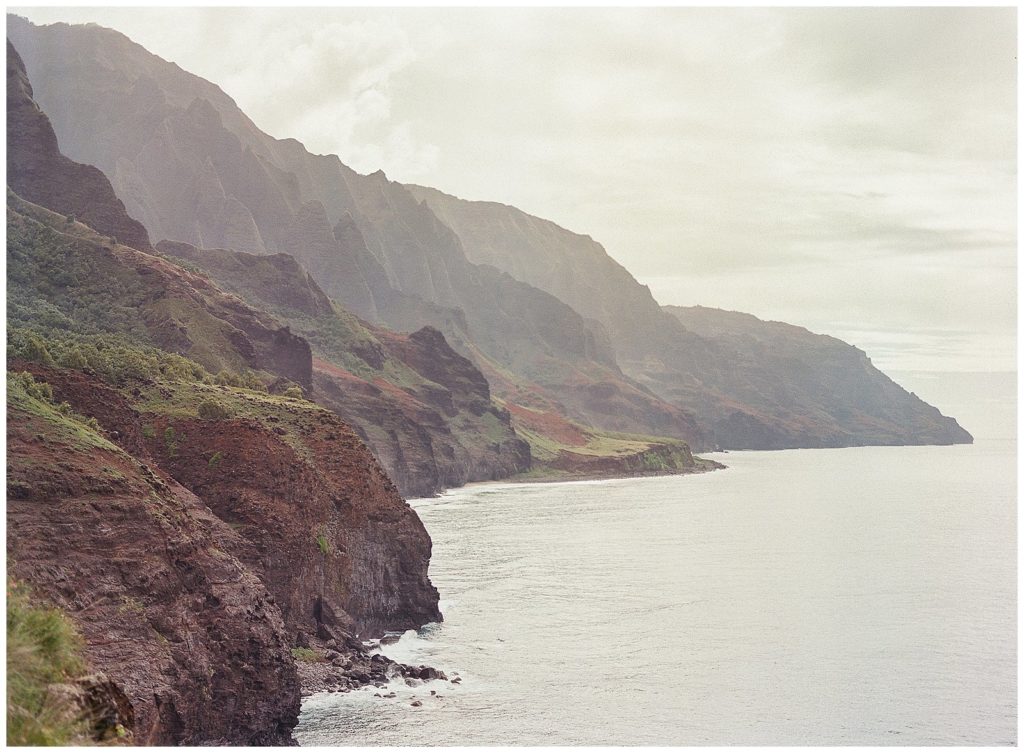
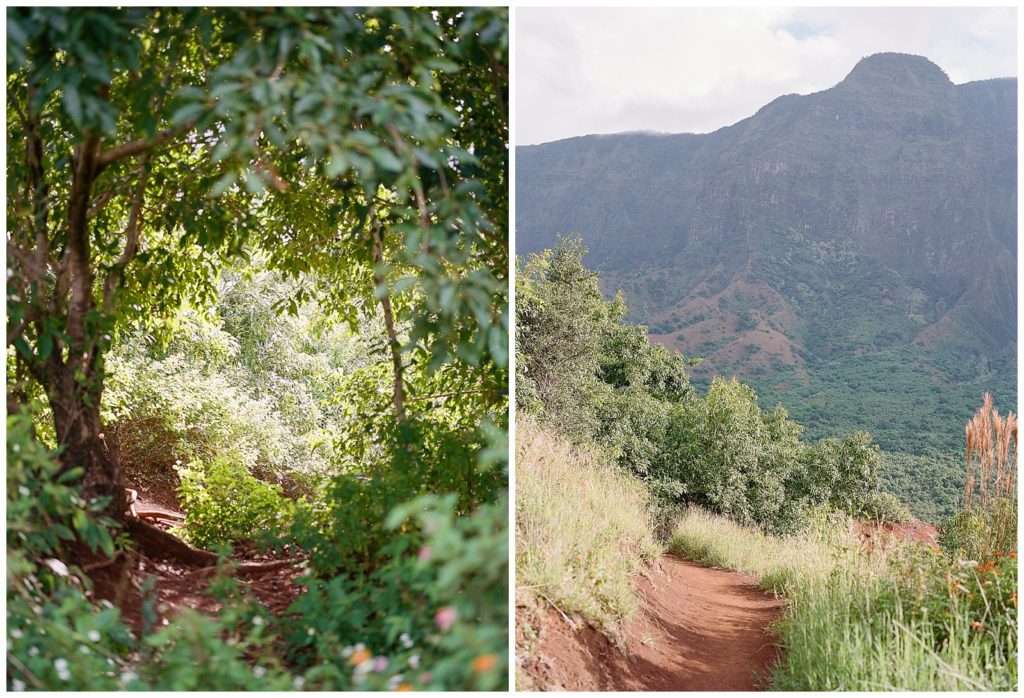
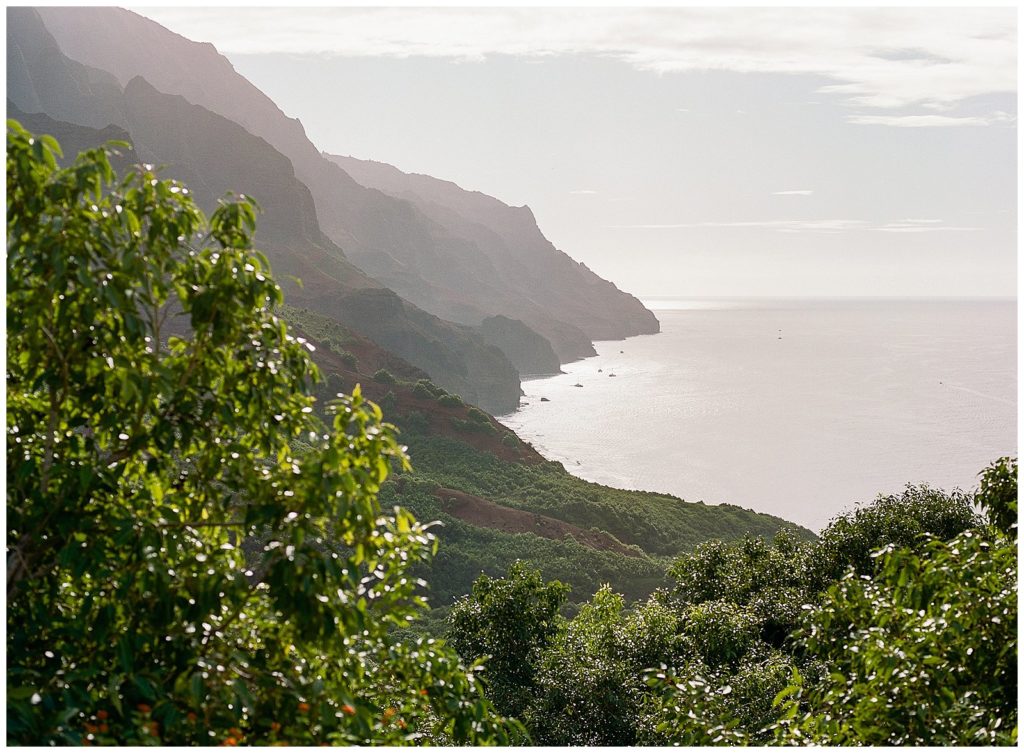
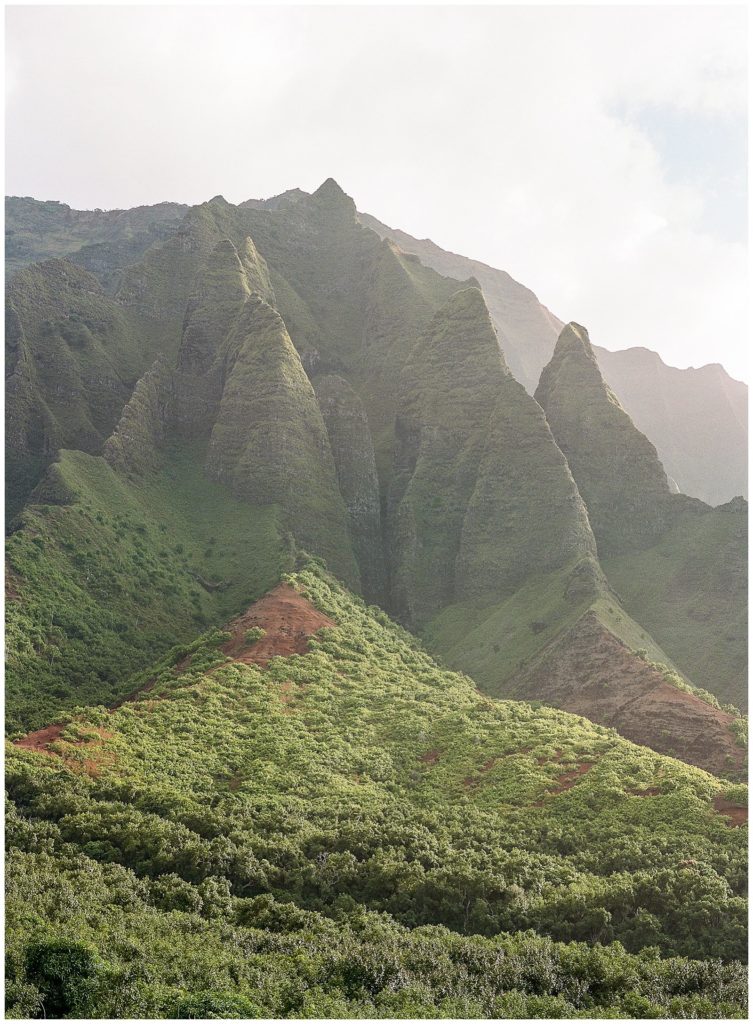
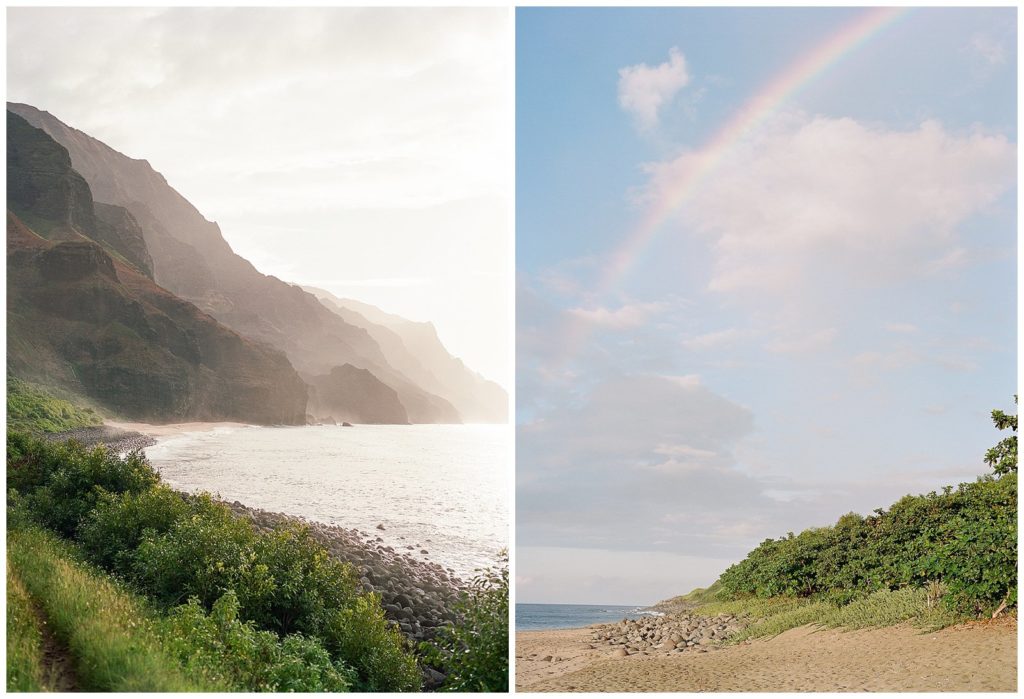
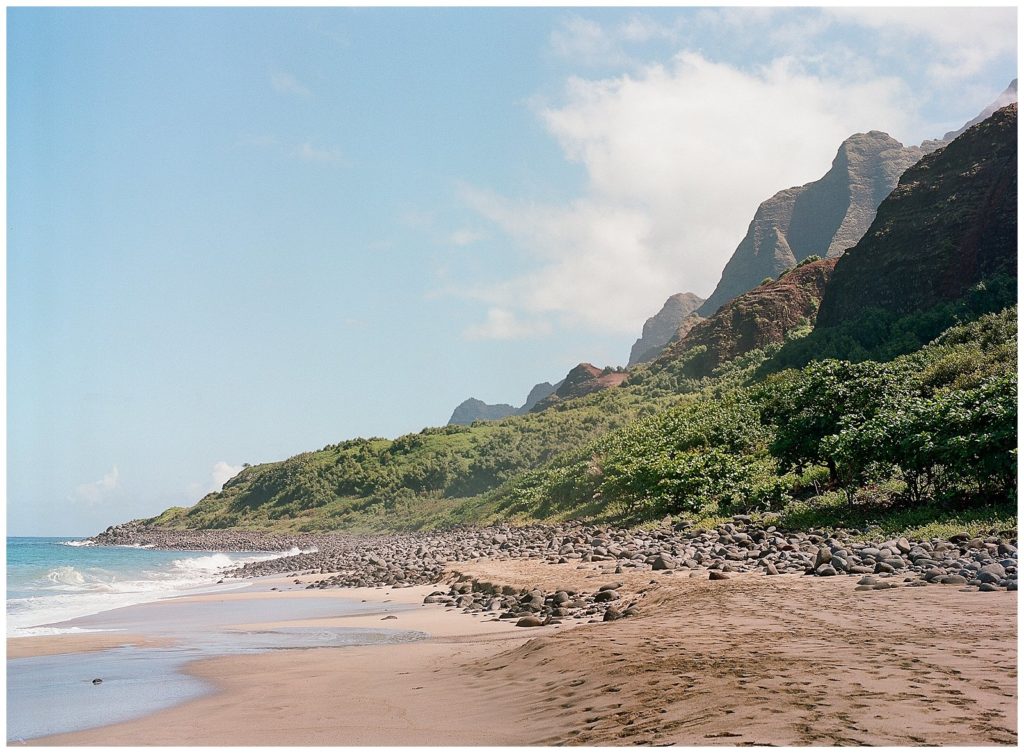
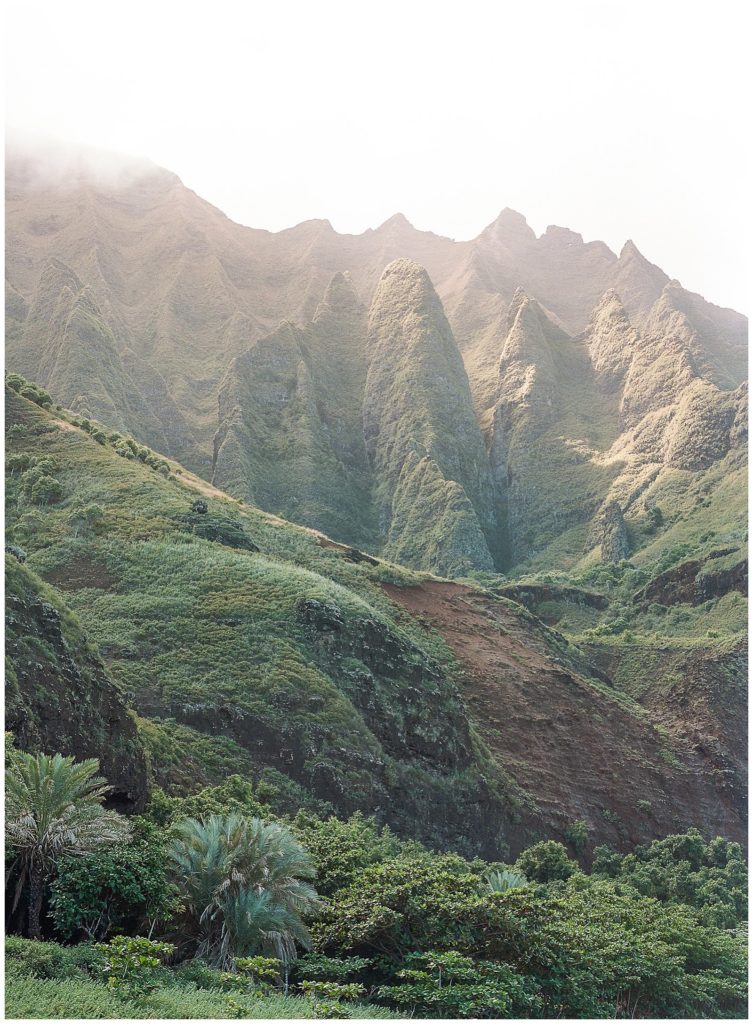
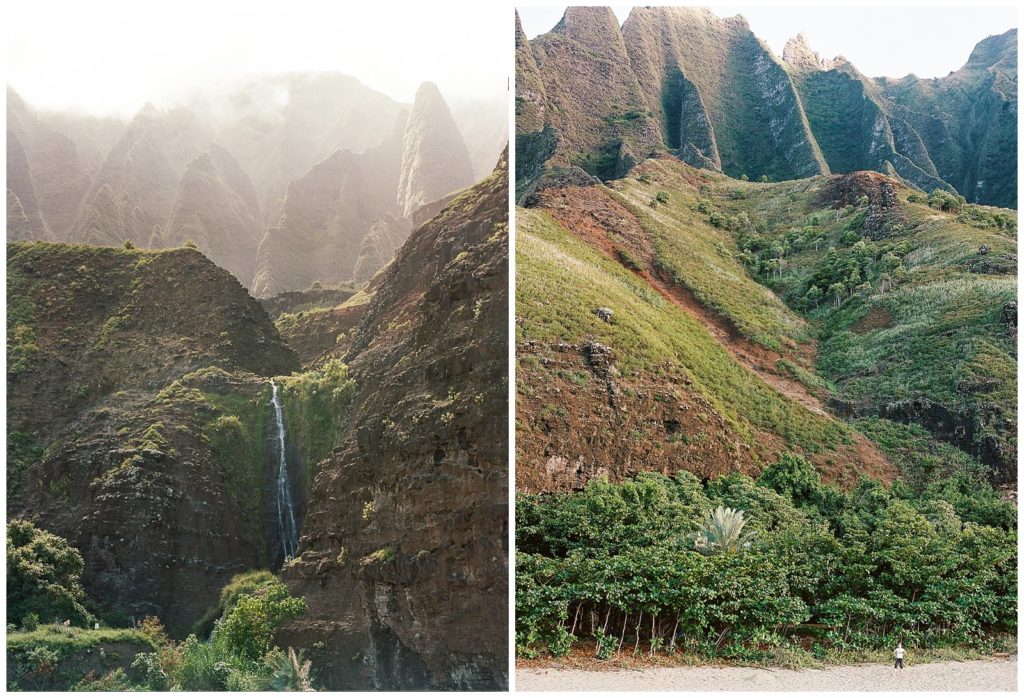
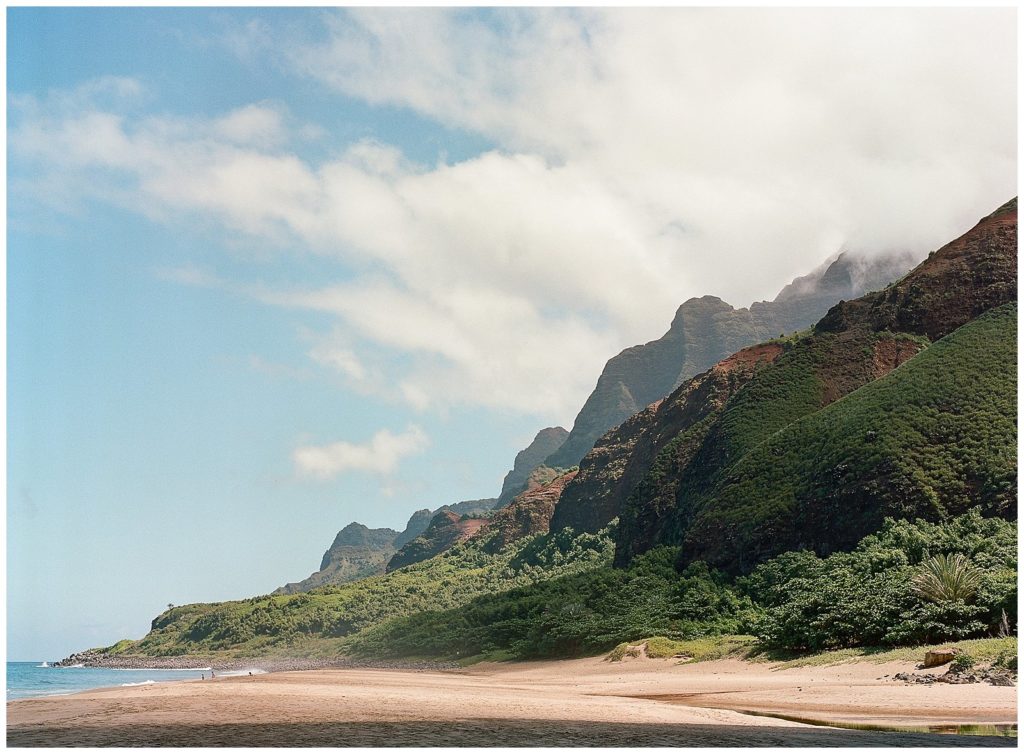
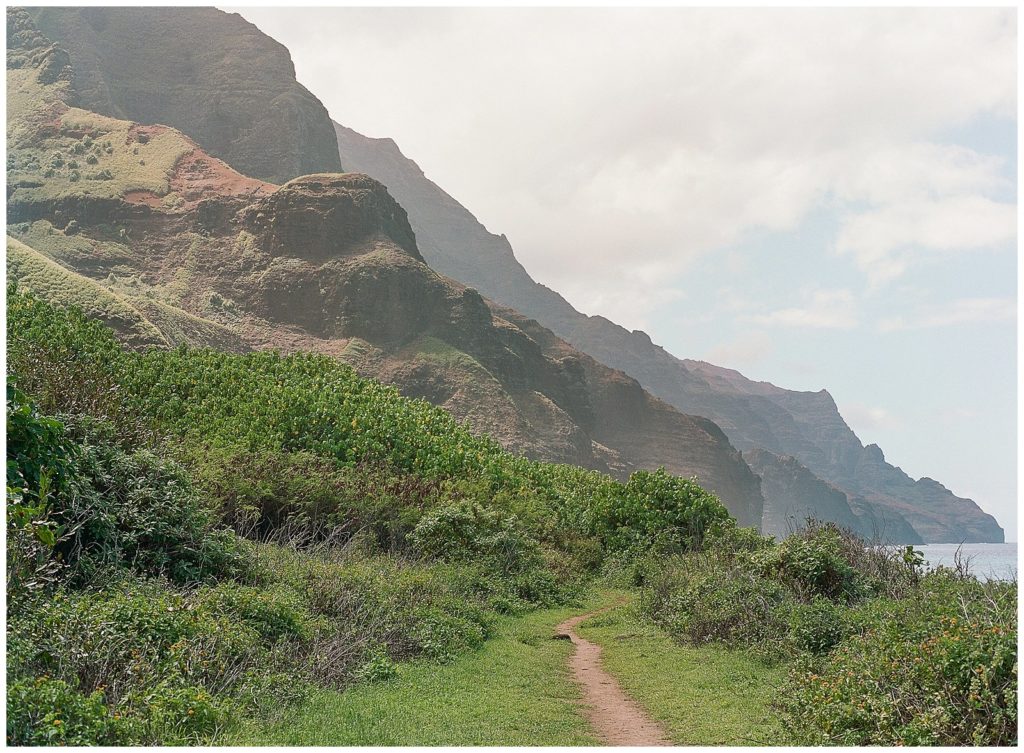
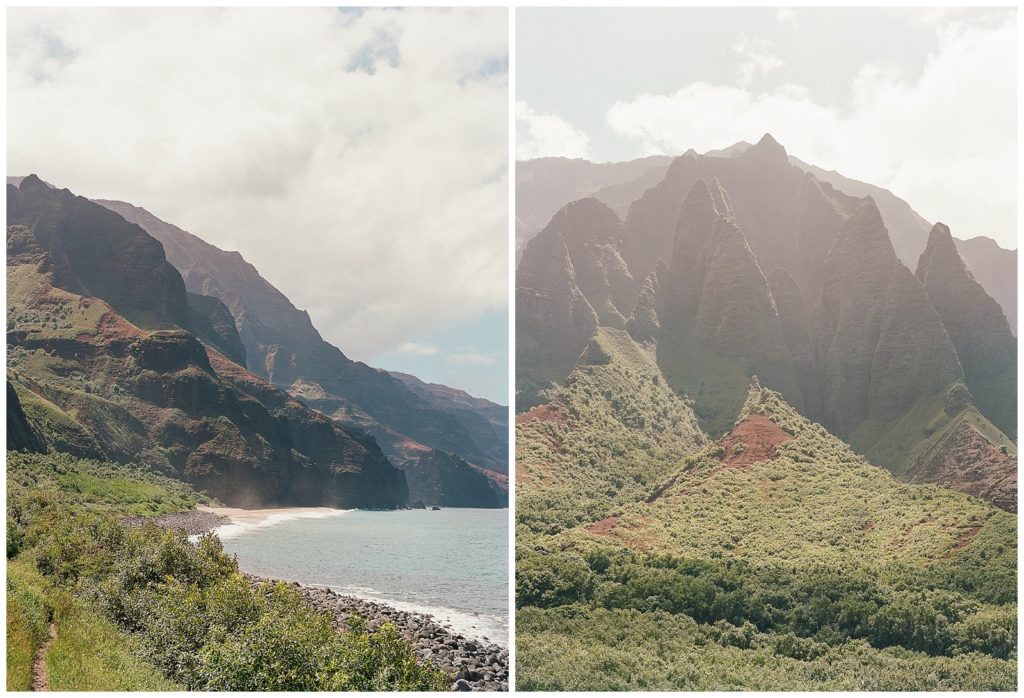
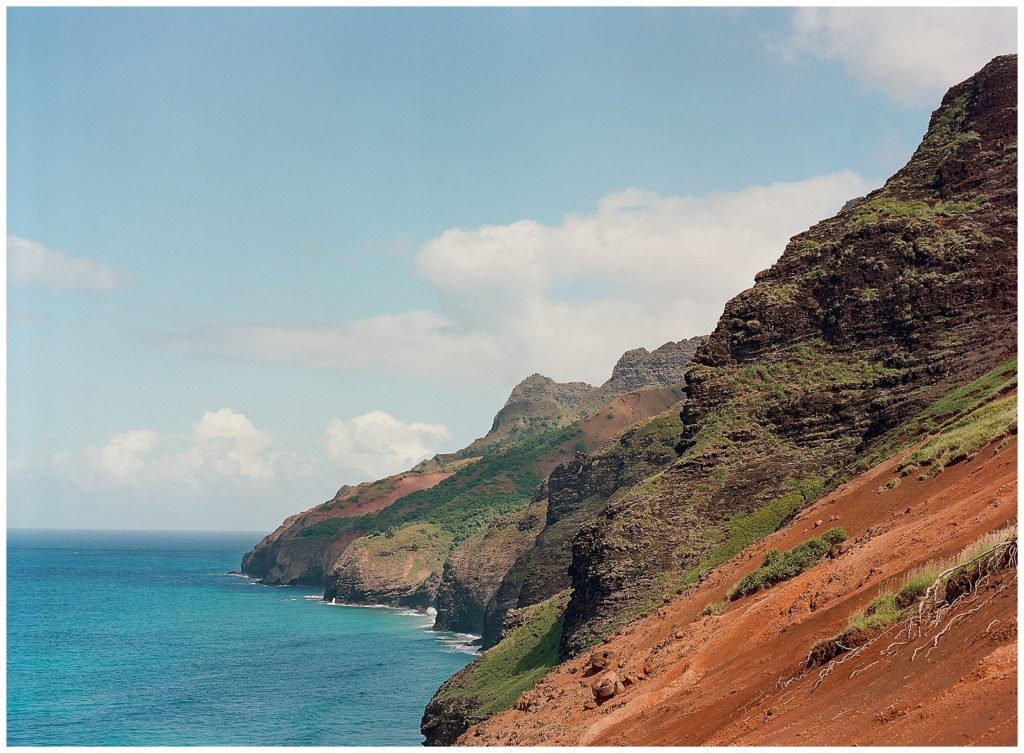
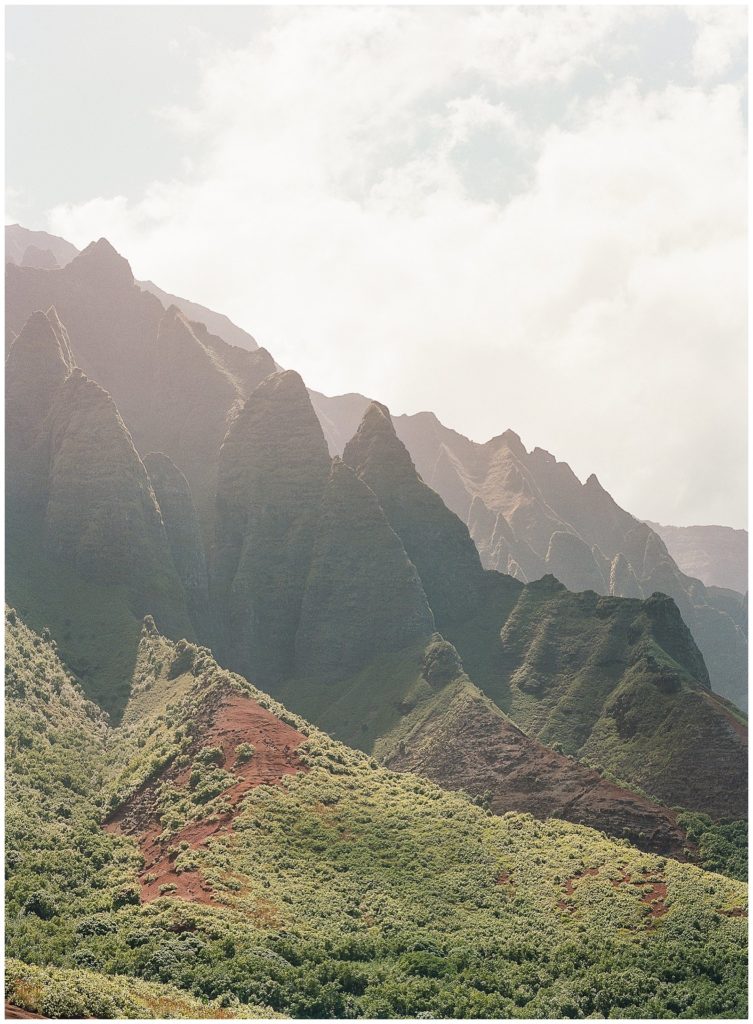
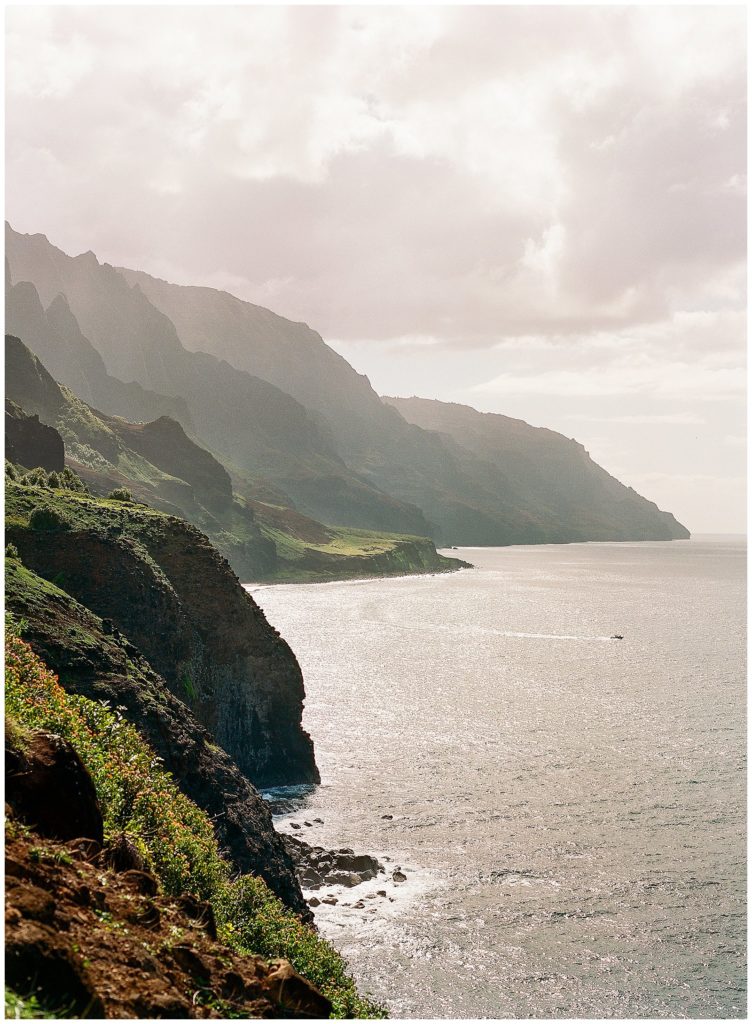
The Kalalau Trail is an 11 mile round trail (22 miles round trip) along the Nā Pali Coast – arguably one of the most beautiful hikes in America! If you’re not up for the full hike, you can do a day hike to the beach to Hanakapi’ai Beach, at mile two. Both options require permits – so make sure to do your research (I believe permits are available 90 days in advance – but they go quickly, so be sure to plan ahead!).
After flying into Kauai, we purchased our cooking gas from Pedal and Paddle. We stocked up on groceries at a local Safeway. Then, we finalized our logistics for how to actually get to the trail.
The parking lot at the trailhead is small, and when we went, we were not allowed to park overnight (rumors are roaming around that this is going to change soon?). We ended up using North Shore Cab to get to the trailhead and we parked our rental car at the cab owner’s home. Janice was super kind and sweet! We arrived at the trail early in the morning – shortly after sunrise. We were excited (Thomas) and slightly terrified (myself). We had 11 miles to hike in one day!
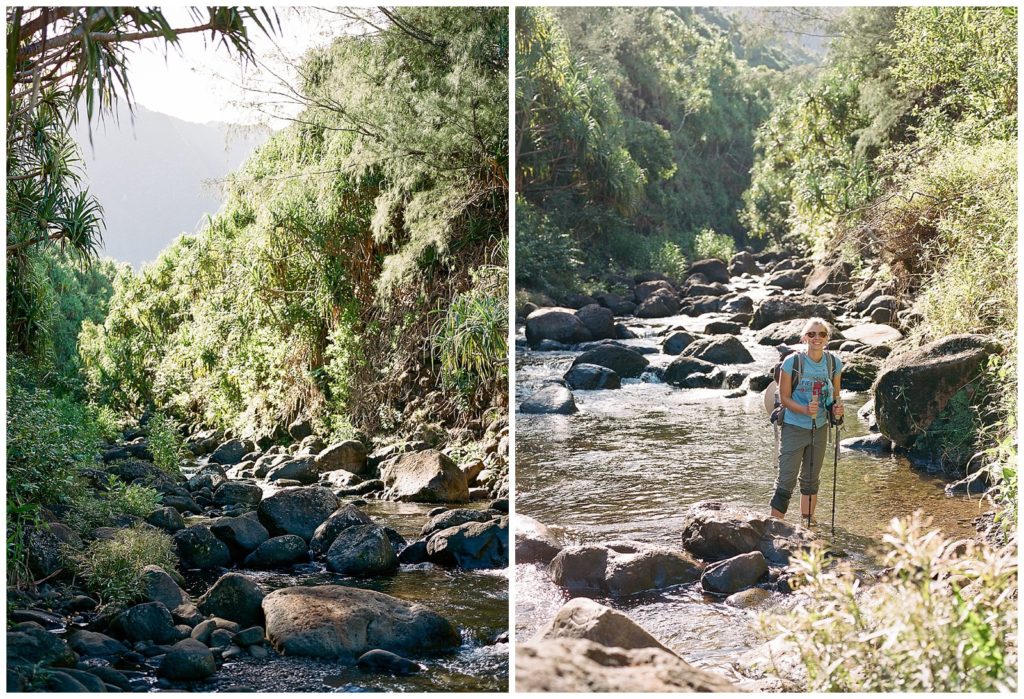
We both wore Nike trail runners (sneakers with extra grip) and didn’t take them off for every river crossings (although, our toes were a bit prune-y by the end of the day – even though our sneakers would dry pretty quickly). We carried lightweight backpacks (Katabatic for Thomas and Gossamer Gear for me). I used trekking poles, but Thomas didn’t. The Sawyer Squeeze system was the easiest (and lightest) way for us to effectively filter water. We had an original and micro (never used the micro – just brought it in case something happened to our main squeeze). We carried our unfiltered water in Evernew collapsible water carriers. We would filter through the Sawer Squeeze into the SmartWater water bottles.
Before we added food or water, my pack weighted 10 pounds. Thomas’s was closer to 15 – but he was carrying my 6 pound camera. Ha! Here are some of the items we carried in our bags:
- Gossamer Gear backpack (for me)
- Katabatic backpack (for Thomas)
- Ultra-lightweight tent from ZPacks
- Pack liner (in case it rained – our items wouldn’t get wet)
- Groundsheet (to protect our tent)
- Tent stakes
- One sleeping “quilt” (we shared one between the two of us and just opened it over us since it wasn’t expected to be too cold – but I’m glad we had this!! I would have been cold otherwise)
- Inflatable sleeping pads – these weren’t super comfortable – probably the one thing I’d hope to improve if we do this again
- Inflatable pillow (surprisingly comfortable!)
- Portable cell phone charger
- Cell phones (for photos – no service out there)
- One extra pair of clothes – which I slept in – and did the return hike in (I opted to hike in long pants to protect my legs from scratchy bramble)
- Trail runners (Nike sneakers)
- 1 sports bra
- 3 pairs of undies
- A down jacket
- One extra pair of socks (in case I got blisters)
- Swim suit
- Tiny lightweight towel
- Sunglasses (which fell off my head during a river crossing – so invest in something that keeps them on you!)
- Plastic flip flops for walking around camp (a necessity!)
- A stove
- Gas for the stove
- A little pot to cook in
- A coffee mug
- A spork
- A swiss army knife
- A mini bic lighter
- A wooden spoon
- Dry bag (to protect items from rain – like the camera)
- Toilet paper
- Hand sanitizer
- Odor proof bags (so any animals can’t smell your food)
- 2 Sawyer Squeeze (one regular and one micro)
- 3 Evernew bottles
- 2 two liter SmartWater bottles
- Headlamps
- Camera, light meter, and film (yes, we’re old school)
- Sunhats
- Sunscreen
- Toothbrush / tooth paste / retainers
- Hairbrush / dry shampoo
- Chapstick
- And we overpacked food!
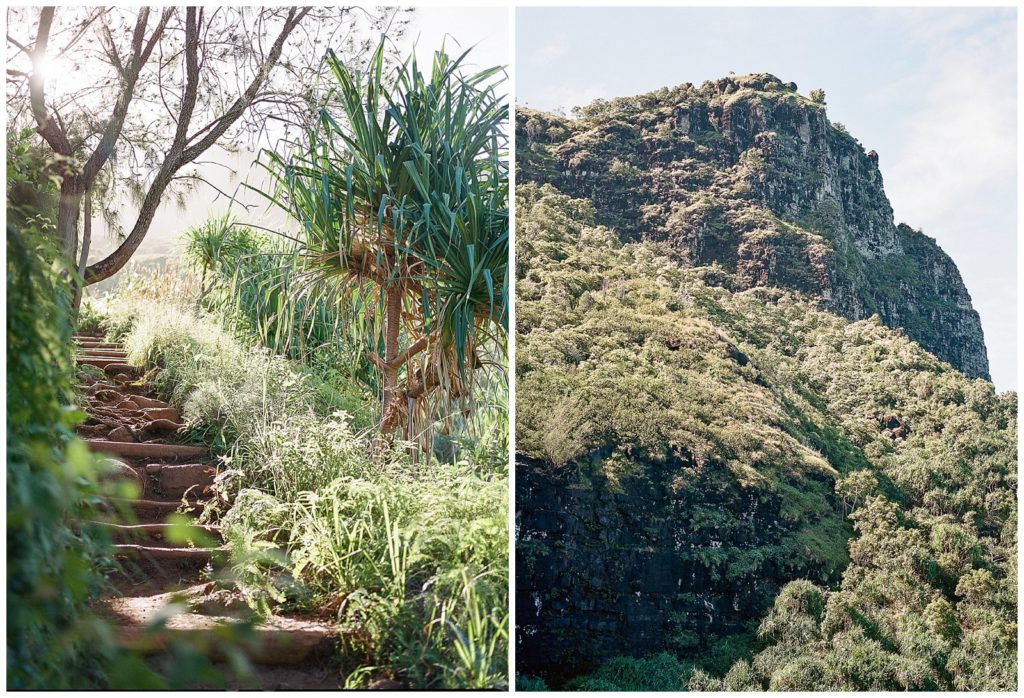
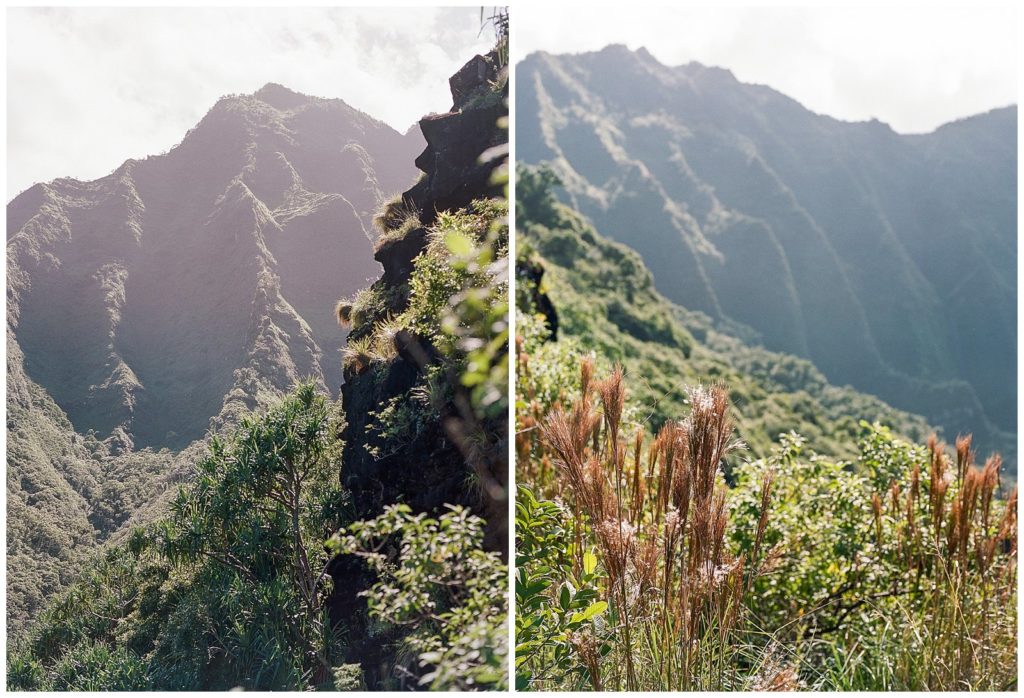
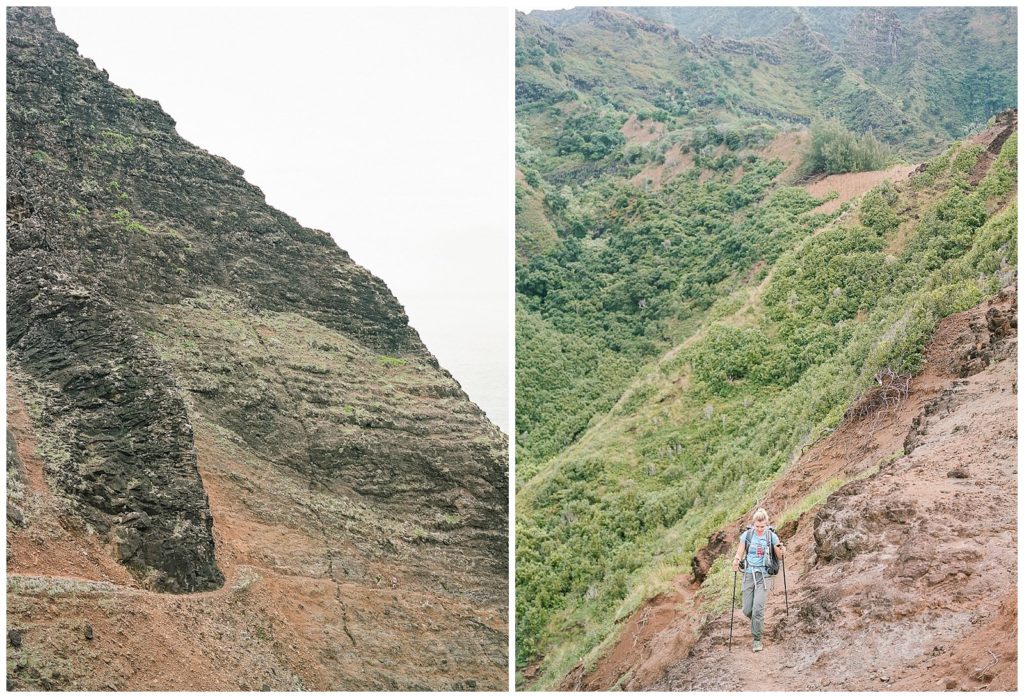
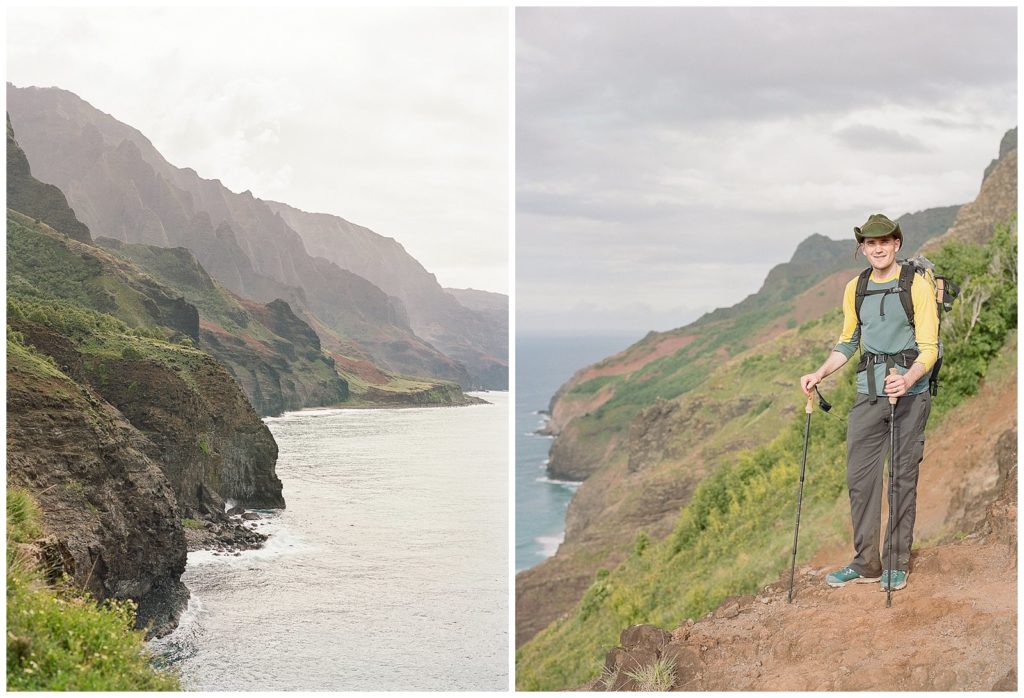
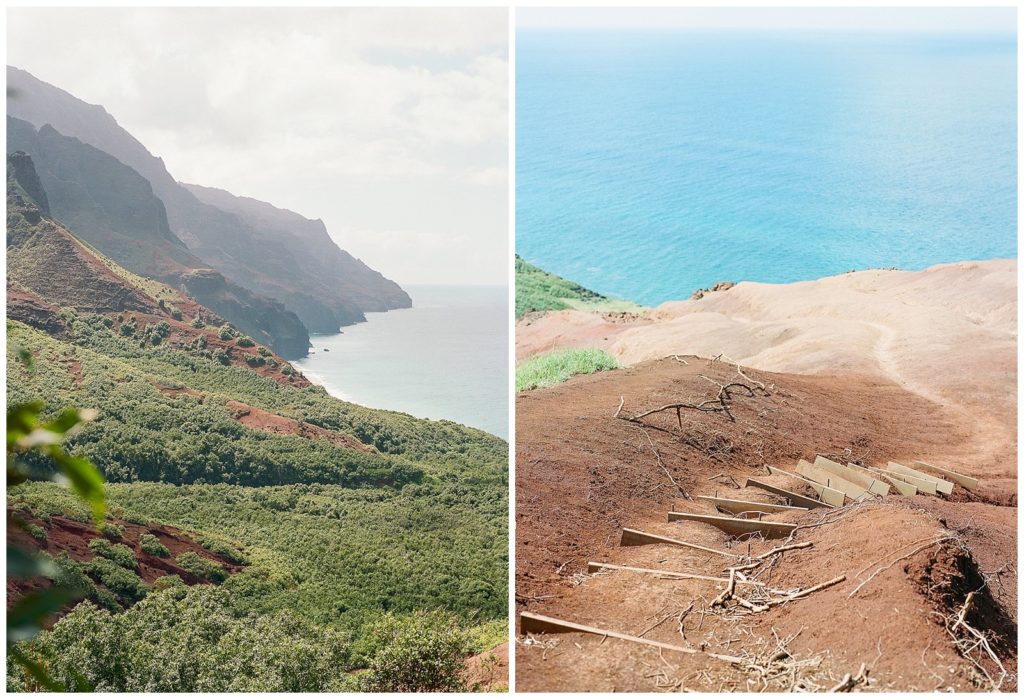
The 11 mile hike took us a long time. We ended up hiking about 1 mile an hour on the first day. It takes a long time when you add in our lunch/snack breaks, the time it took to filter water…and all of my stops for photos. The water between miles 2-4 is scarce, so make sure you fill up before you get to the first river crossing. The trail was not as hard as I was expecting (we hiked the Inca Trail in 2016 and I found that to be much more challenging) – I was honestly nervous after reading so many stories on the facebook group, but I thought it was very doable (and I’m in average shape). The views were such a beautiful distraction! And crawler’s ledge wasn’t bad at all. Just take it slow and be intentional with every step. That path isn’t much narrower than the rest of the trail – it just happens to be along a cliff…
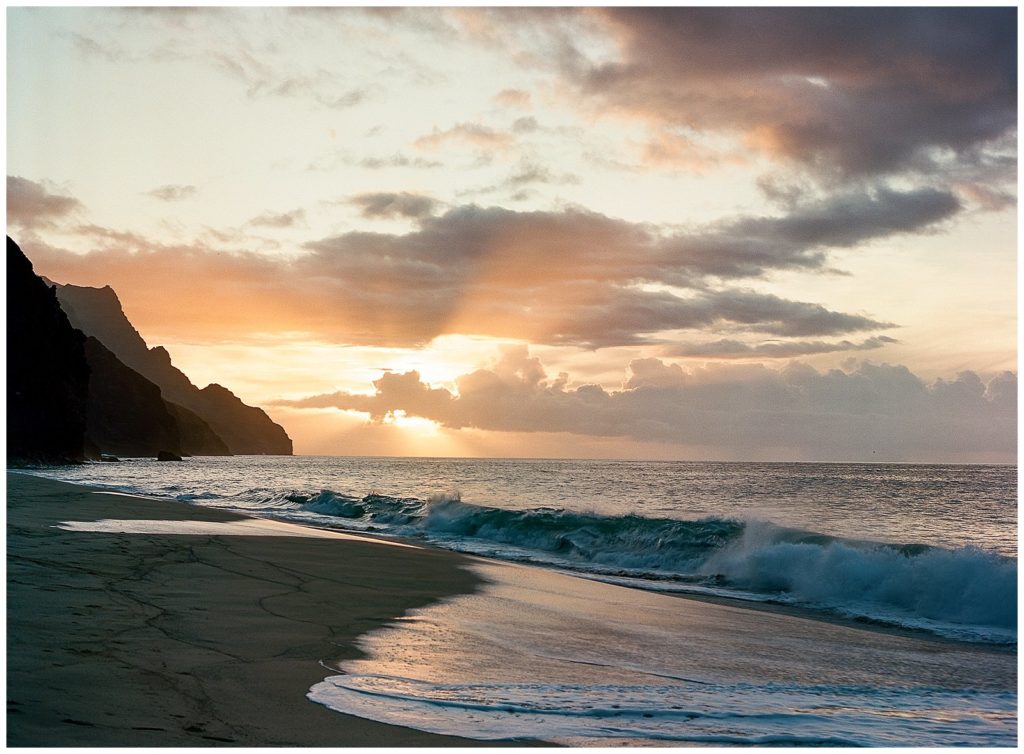
We arrived at the beach just as the sun was setting. We enjoyed a full day at the camp the next day, relaxing and vegging out. On our third day, we hung out in the morning and trekked half way back, sleeping at the 6 mile camp. It wasn’t as bad as everyone else said – but maybe we just got lucky and avoided the mosquitos. The scariest part of that camp was the berries that would fall on our tent in the middle of the night – waking us up with a jolt! On our fourth morning, we woke up early, and had a much faster pace, returning to the trailhead a full hour before our ride was due to pick us up. Those final two miles were so much harder than I remembered them being on the way in! So much uphill!
The key to our success was investing in lightweight equipment. Those large, heavy packs will slow you down! Pack as little, and as light as possible. Filter water along the way (I was shocked to see some people carrying gallons and gallons of water with no way to filter). Start early. Enjoy the journey and be sure to stargaze at night! Hiking the Kalalau Trail was one of my favorite memories of 2019!

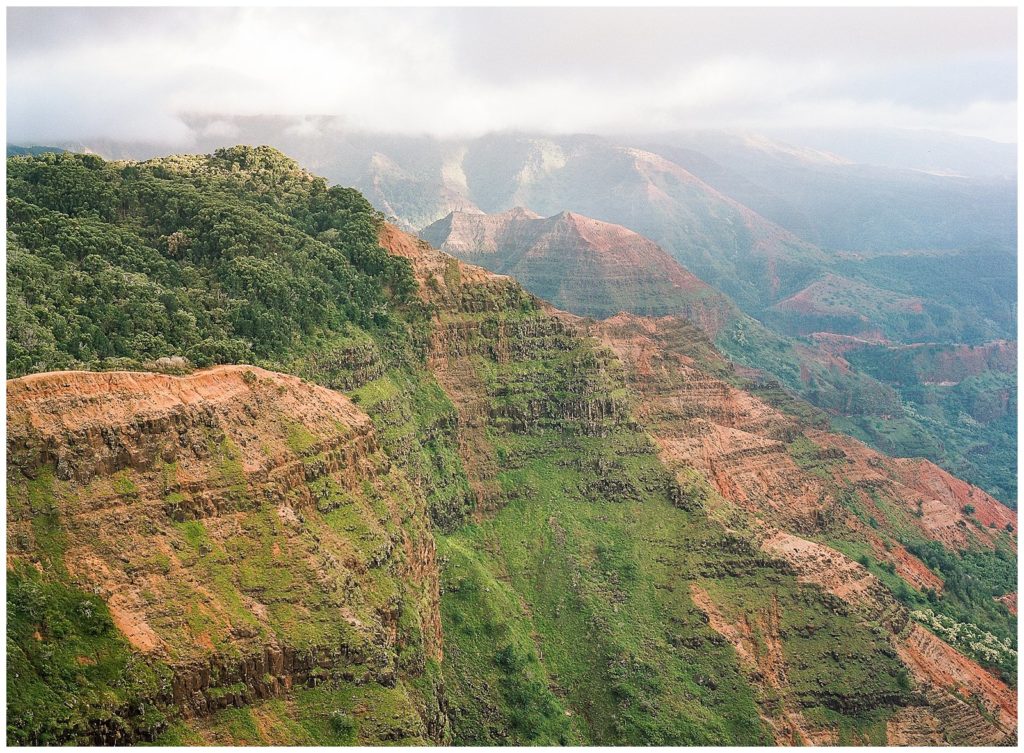
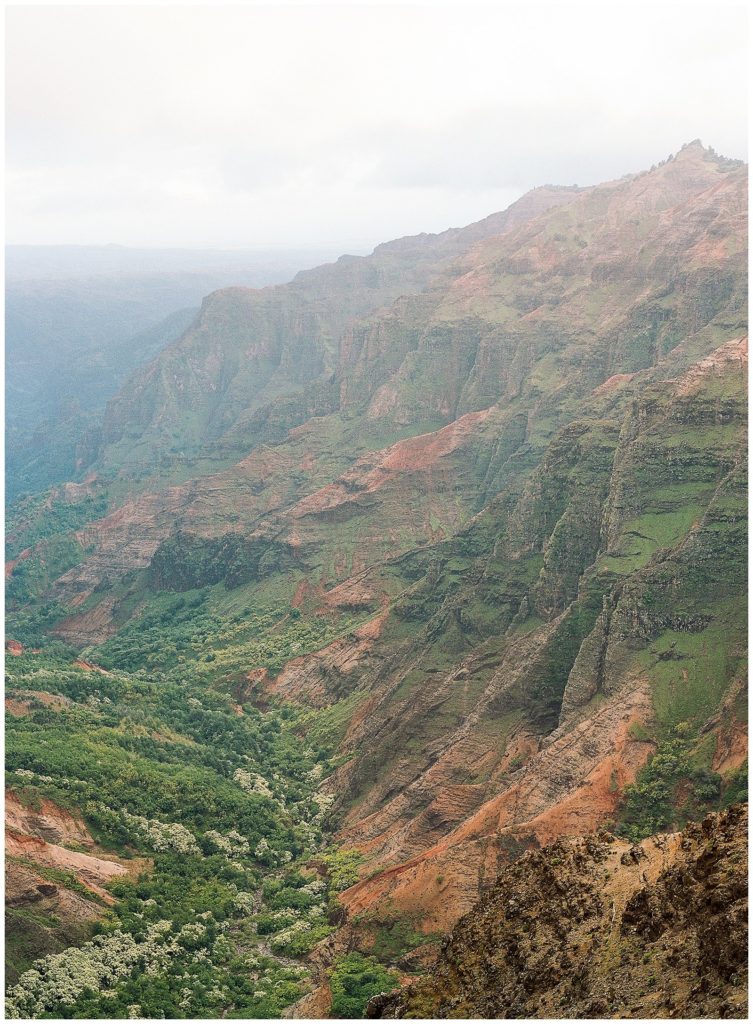
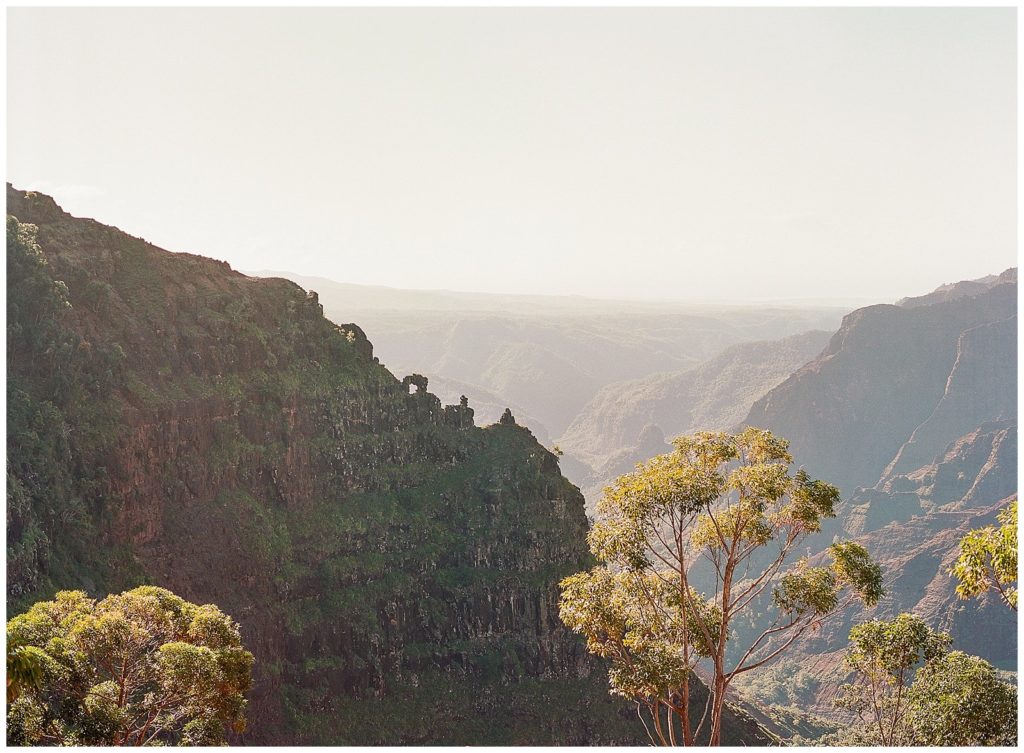
 After getting off the trail, we spent one more night camping, this time in Waimea Canyon State Park.
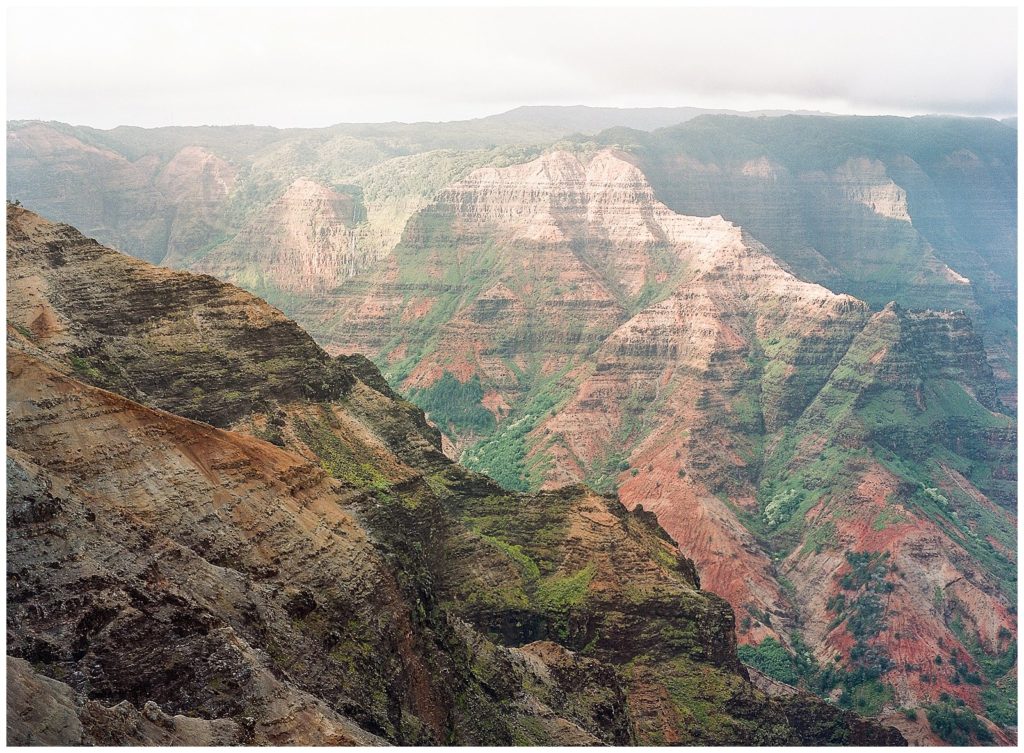
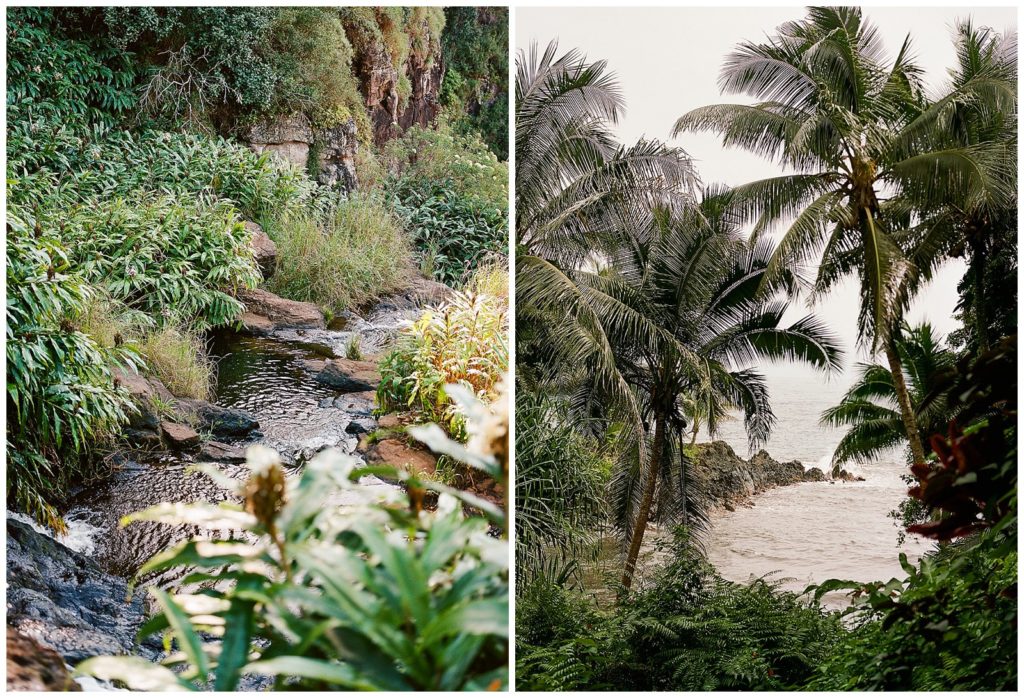
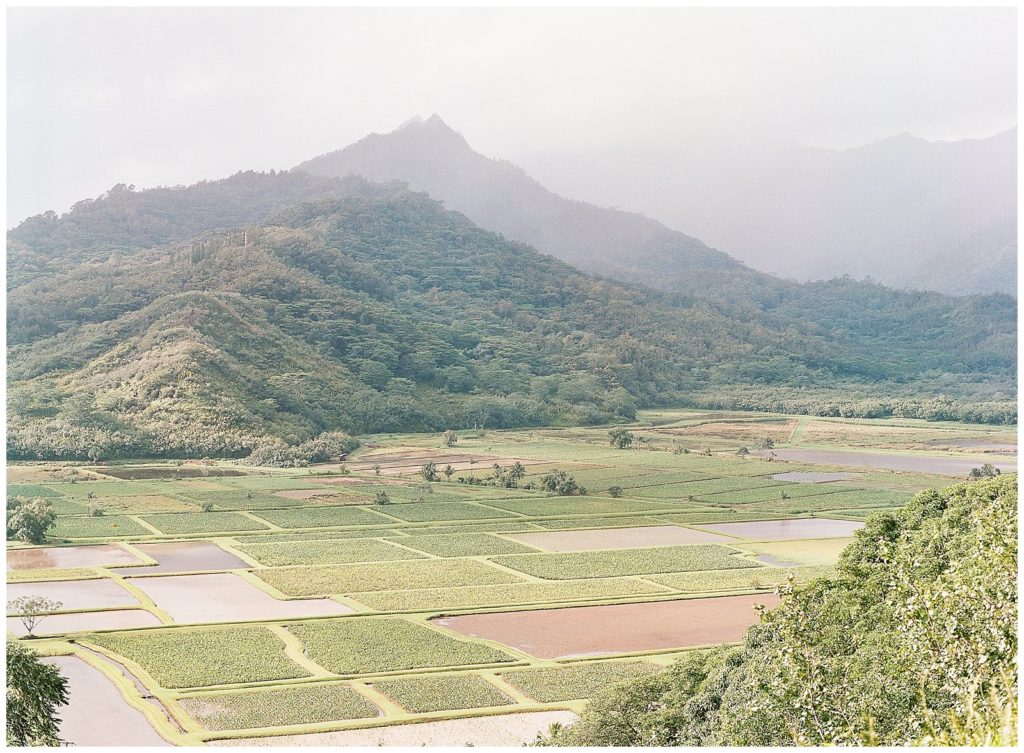
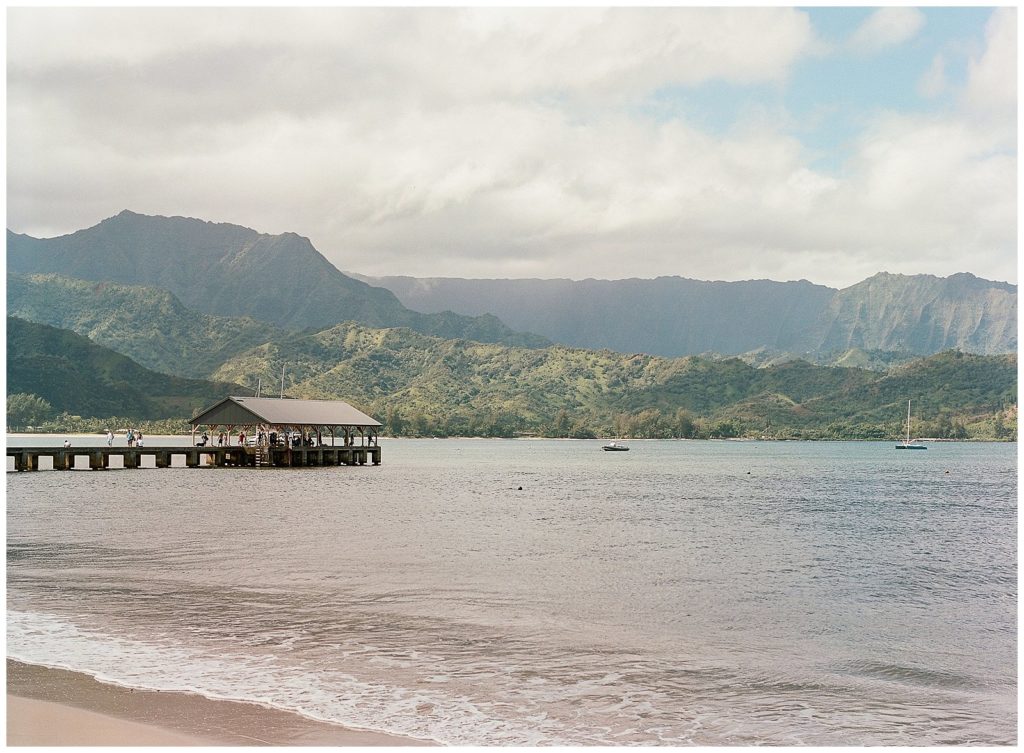
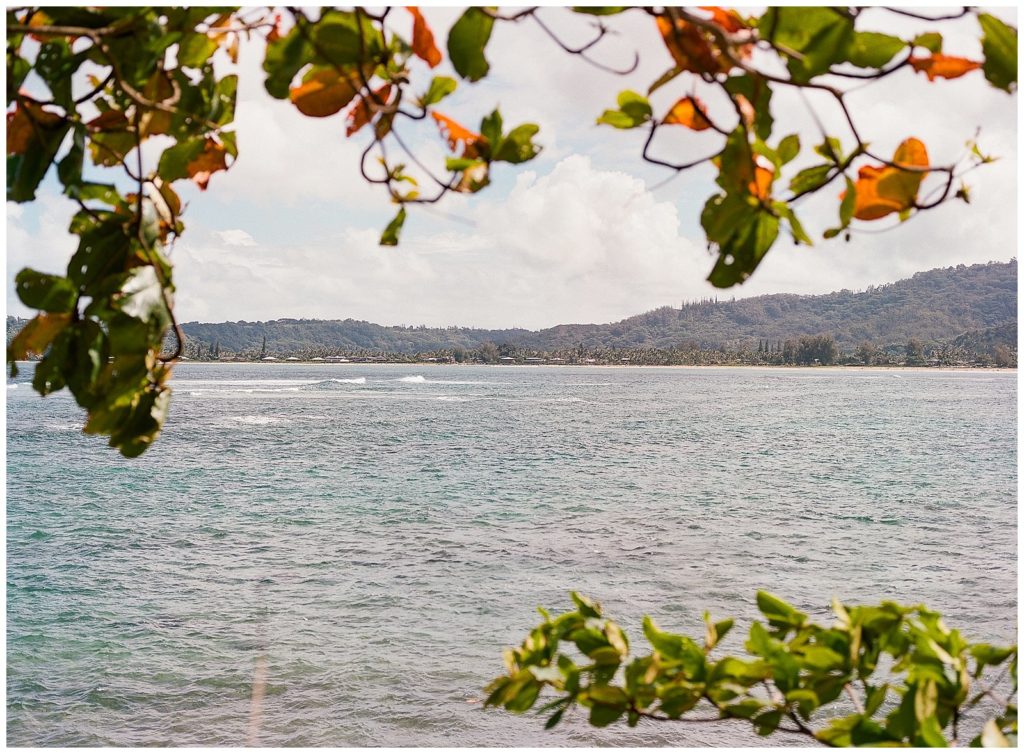
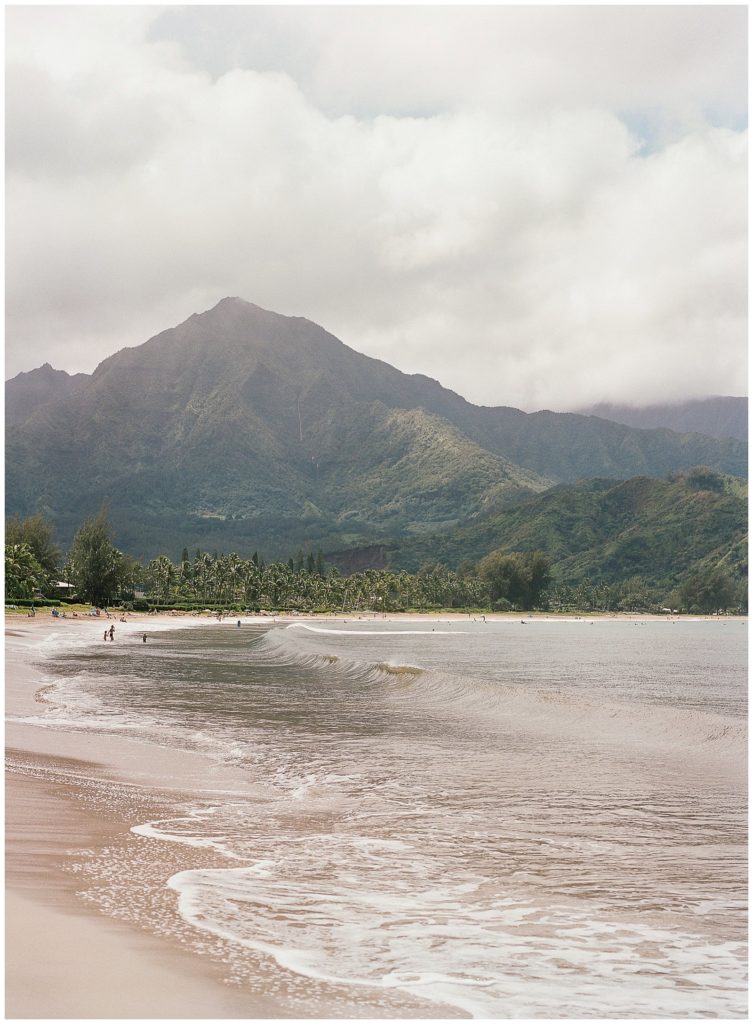
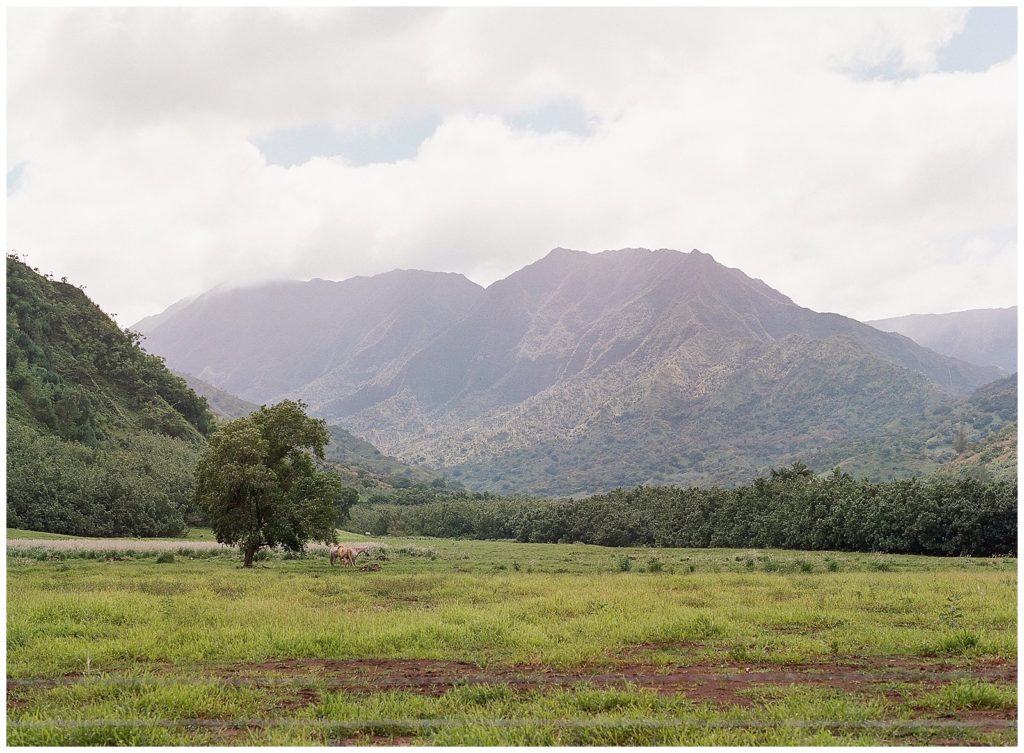
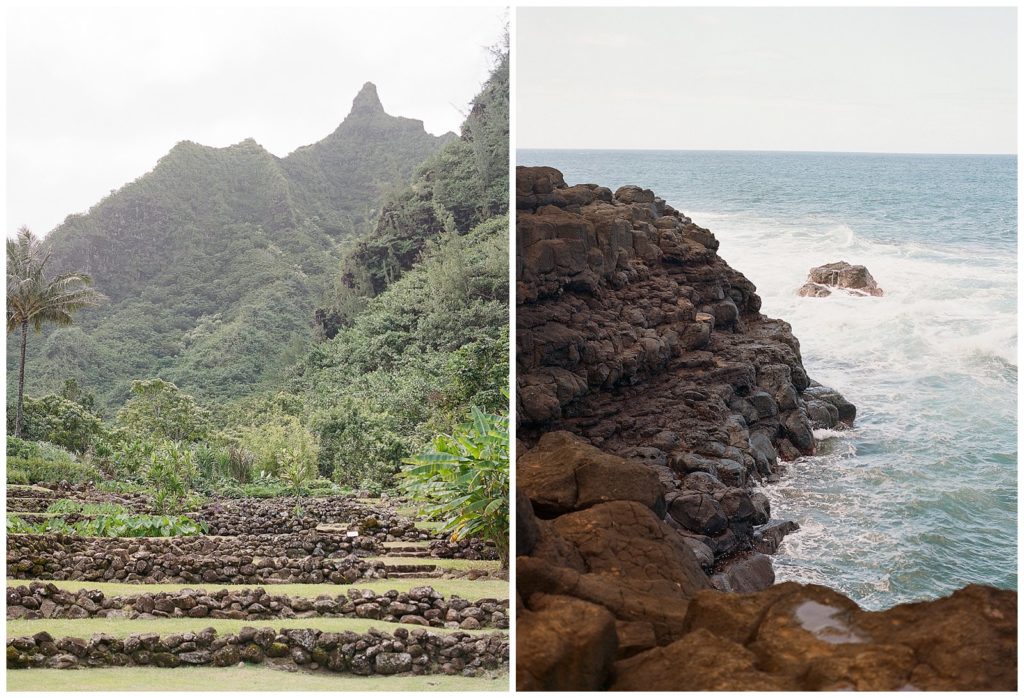
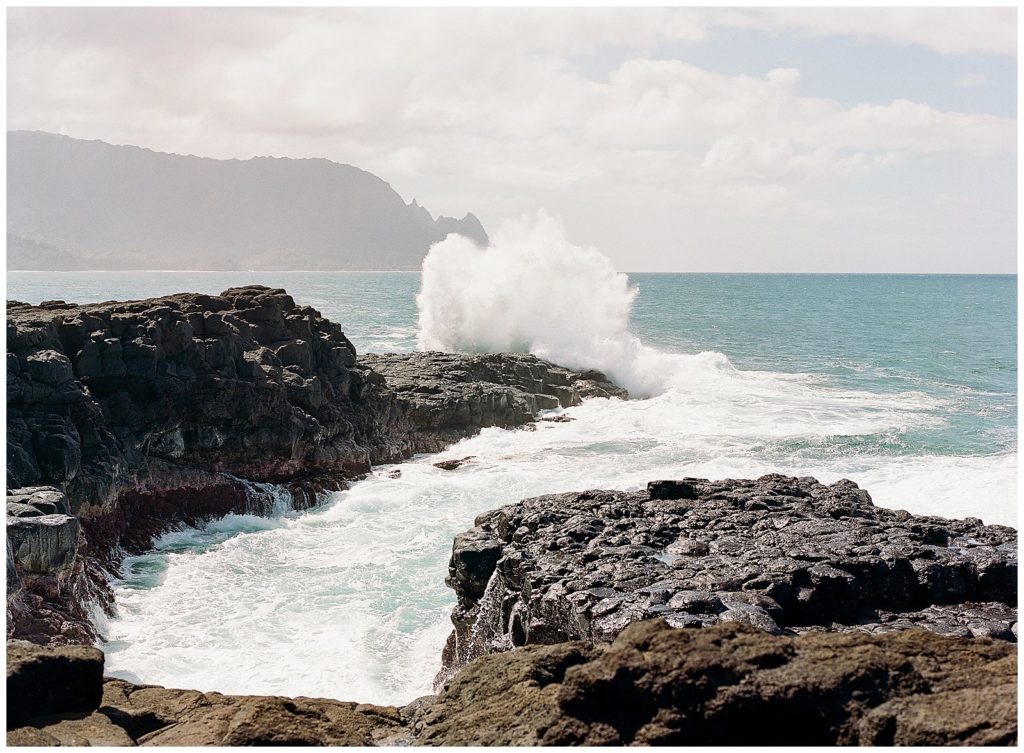
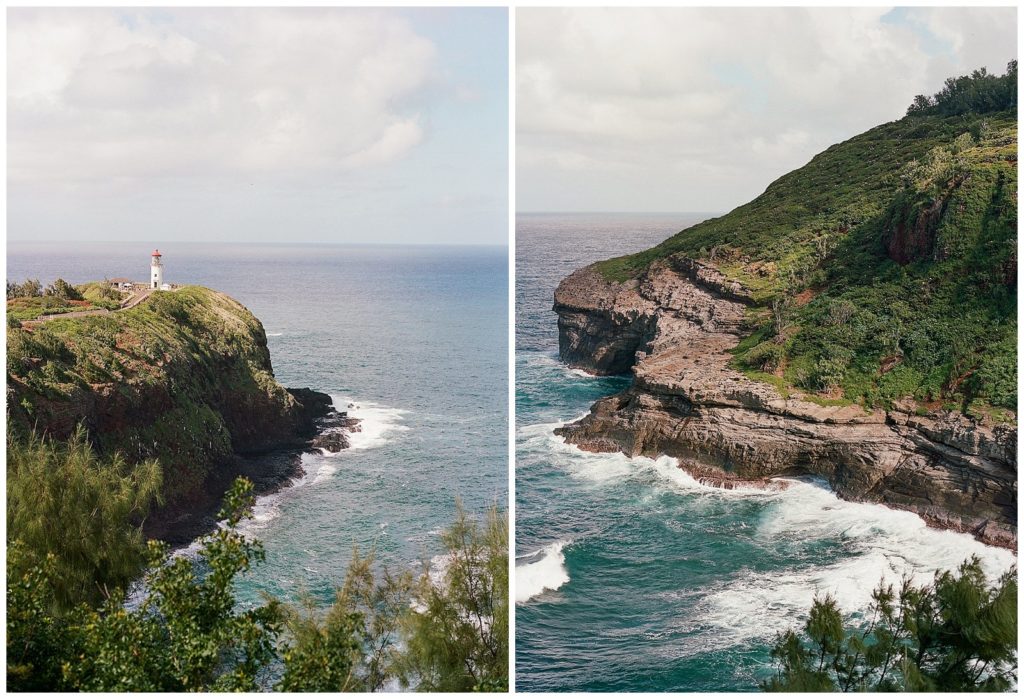
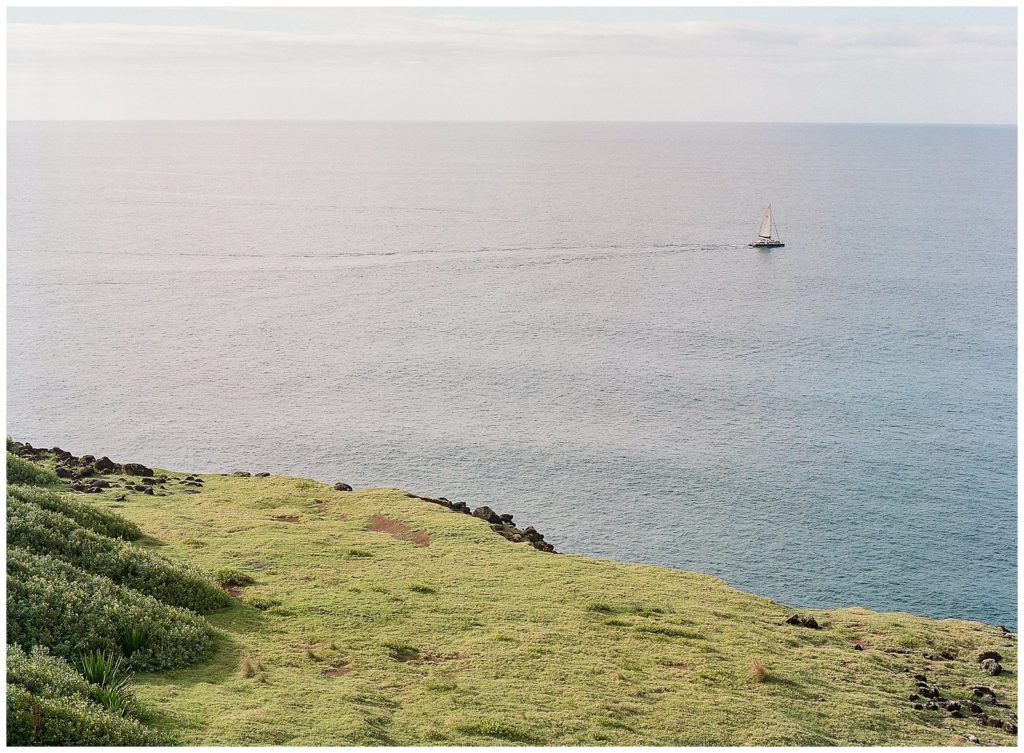
 And, some other photos from our trip to Kauai and the big island!